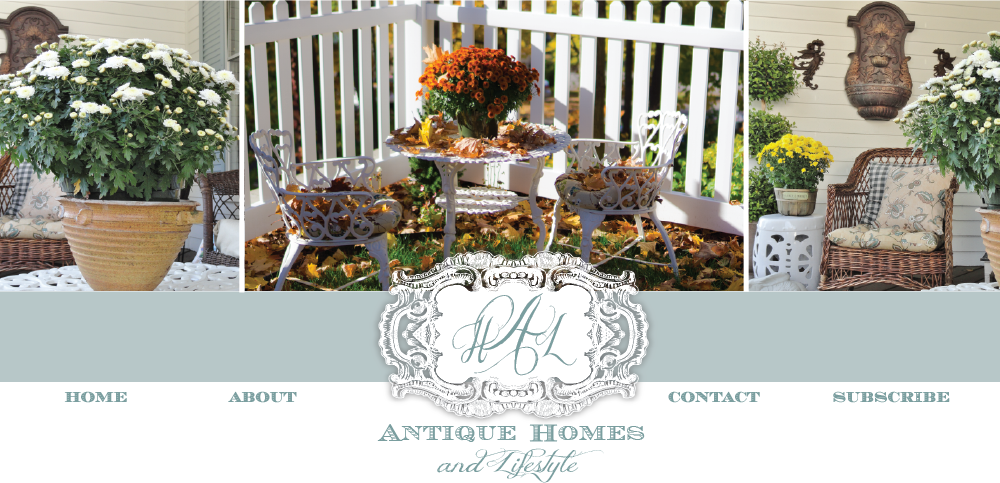
At long last, I have an update on my crazy landscape design project. If you haven't been following this project - I have a Victorian home was built in the 1880's. It sits on a quarter acre of land, the majority of which had a steep slope and was not useable. The only space we had to sit outside was our front porch. The porch is really not private and I like to sit outside and enjoy nature - not watch cars and neighbors go by. We also did not have anywhere to entertain outside. This new area is private on three sides! I am thrilled with it. It met all my expectations.

We are fortunate that our neighbor has a commercial landscape contracting business and offered to do our residential project. He has great experience on building retaining walls and doing things the right way so they drain correctly and last. Based on the slope of the yard, we had to do a five foot above the ground retaining wall. We fenced in the new area with a lovely white picket fence. We also did a two foot high upper wall for our patio area, leveled it out and filled it with rice stone. We put sod in the lower area. I love the lush look of the green grass! So cozy and private!
This project took about two months total to complete. I'm just thankful that there are still a few weeks of decent weather so I can enjoy it before it gets too cold here in New England. Although, I can picture sitting out here in the fall with a hot cup of cocoa and a gas fire place to warm us up.


A before photo of the area taken many years ago...

The new space! We kept some of the Rhododendrons for privacy. They make a great natural screen.

We had to do a lot of digging and leveling in this upper space. We exposed some of the foundation bricks that needed repointing. My husband repointed the bricks and I painted this new silver color that goes with the house (much better than the old bright red color - yuck).


We have a lovely lattice screen that will be going on the back up the upper patio to cover the ugly basement window. My husband has put it together and now we just have to paint and install it.

This is an antique porch swing I restored that was in my barn for over 10 years. I purchased the swing frame online and put it together. The lake is down the hill behind those trees. We get a great lake view after the leaves fall. We're going to trim out some of them to try to get a little view during the summer months.


These are the urns that I found at Brimfield Antique Fair this summer...
LOVE! LOVE! LOVE!

I planted boxwoods across the front of the upper patio area to separate the space. I love the smell of them. They make me think of an old estate.

It's so nice to swing and look up at the pretty old house.


This was the upper patio area "before." Overgrown and a totally useless space...

AFTER... much better! The house has a lot more curb appeal and this extra useable space will definitely help with resale in the future.

Here's an updated photo of the space! I've been searching high and low for patio furniture to go into the upper patio area. I finally found this set below for half price at Lowes! Sometimes it pays to wait until the end of the season! I'm going to be covering that ugly window behind the screen so it blends in with the foundation. I was hoping the screen would cover it but it's come up a little short.

Thanks so much for stopping by and sharing this project with me. Hope you have a wonderful day and can find time to do the things that you enjoy!
Great parties that I'm linking with...
http://www.savvysouthernstyle.net/
Thursday
Creative Things Thursday @ The Vintage Farmhouse
Inspiration Gallery Link Party @ The Golden Sycamore
Treasure Hunt Thursday @ From My Front Porch To Yours
The Humble Brag Link Party @ One Project Closer/The Better Half
Paint Party @ Start at Home
Throwback Thrusday @ Glitter Glue and Paint
Create It Thursday @ Lamberts Lately Show Me Extraordinary Thursday Party @ The 36th Avenue
Transformation Thursday @ The Shabby Creek Cottage
100 Ideas Under $100 @ Beyond The Picket Fence
Creative Things Thursday @ The Vintage Farmhouse
Blog Stalking Thursday @ The Crafty Blog Stalker
The Weekly Creative Saturday Party @ The Girl Creative and Reasons To Skip The Housework
Friday
Fabulously Creative Linky Party @ Jennifer Rizzo
Show And Tell Friday @ My Romantic Home
Furniture Feature Friday @ Miss Mustard Seed
Frugal Friday @ Shabby Nest
Feathered Nest Friday @ French Country Cottage
Vintage Inspiration Friday @ Common Ground
Home Sweet Home @ The Charm of Home
Frugalicious Friday @ Finding Fabulous
TGIF Linky Party @ A Peek Into My Paradise
Saturday
Any Link Goes Party @ Bacon Time With The Hungry Hungry Hypo
Weekend WrapUp Party @ Tatertots and Jello
Serenity Saturday @ Serenity You
Saturday Nite Special @ Funky Junk Interiors
Show and Tell Saturday @ Be Different, Act Normal
What To Do Weekends @ Crafts A La Mode
Sunday
Get Schooled Saturday @ Too Much Time On My Hands
Overflowing with Creativity @ It's Overflowing
Sunday Showcase Party @ By Stephanie Lynn
Sundae Scoop Weekend Wrap Up Party @ I love Nap Time
That DIY Party @ DIY Show Off
So Darn Crafty Party @ Sew Many Ways
Think Pink Party @ Flamingo Toes
Let's Get Social Sunday @ My Turn for us
Sunday Show Off Linky Party @ Twigg Studios
DIY Sunday Showcase Linky Party @ VMG206
Get your DIY on Fall Party Challenge @ Confessions of a DIYer